Sagify integration

This doc refers to Sagify users who want to use the Superwise platform to define workflows that automatically monitor: data drift, performance degradation, data integrity, model activity, or any other customized monitoring use case.
Step 1: Create a Superwise Account
Go to Superwise and click the Account button to create an account. Using the free tier, you can monitor up to three models.
Step 2: Add your model
You can use the Superwise SDK to create the model. Click User profile and then select Personal tokens to create an access token on the Superwise dashboard.
Step 3: Initialize sagify
To initialize sagify, type the following command sagify init
Enter iris-model for the SageMaker app name, and answer y to the prompt asking Are you starting a new project? Next, make sure to choose Python version 3 and the AWS profile and region you wish to use. Type requirements.txt in answer to the prompt Type in the path to requirements.txt.
A module called sagify_base is created under the src directory. The module’s structure is as follows:
sagify_base/
    local_test/
        test_dir/
            input/
                config/
                    hyperparameters.json
                data/
                    training/
            model/
            output/
        deploy_local.sh
        train_local.sh
    prediction/
        __init__.py
        nginx.conf
        predict.py
        prediction.py
        predictor.py
        serve
        wsgi.py
    training/
        __init__.py
        train
        training.py
    __init__.py
    build.sh
    Dockerfile
    executor.sh
    push.sh
Step 4: Initialize the requirements.txt
Make sure the requirements.txt at the root of the project has the following content:
awscli
    flake8
    Flask
    joblib
    pandas
    s3transfer
    sagify>=0.18.0
    scikit-learn
    superwise
Step 5: Download the Iris data set
Download the Iris data set and save it in a file named "iris.data" under src/sagify_base/local_test/test_dir/input/data/training/.
Step 6: Implement the training logic
In the src/sagify_base/training/training.py file, replace the TODOs in the train(...) function with the following text:
input_file_path = os.path.join(input_data_path, 'iris.data')

df = pd.read_csv(
    input_file_path,
    header=None,
    names=['feature1', 'feature2', 'feature3', 'feature4', 'label']
)
df['date_time'] = pd.to_datetime('now')
df["id"] = df.apply(lambda _: uuid.uuid4(), axis=1)
df_train, df_test = train_test_split(df, test_size=0.3, random_state=42)

features_train_df = df_train[['feature1', 'feature2', 'feature3', 'feature4']]
labels_train_df = df_train[['label']]

features_train = features_train_df.values
labels_train = labels_train_df.values.ravel()

features_test_df = df_test[['feature1', 'feature2', 'feature3', 'feature4']]
labels_test_df = df_test[['label']]

features_test = features_test_df.values
labels_test = labels_test_df.values.ravel()

clf = SVC(gamma='auto', kernel="linear")
clf.fit(features_train, labels_train)

###### Report Testing Data ######
test_predictions = clf.predict(features_test)

accuracy = accuracy_score(labels_test, test_predictions)
output_model_file_path = os.path.join(model_save_path, 'model.pkl')
joblib.dump(clf, output_model_file_path)

accuracy_report_file_path = os.path.join(model_save_path, 'report.txt')
with open(accuracy_report_file_path, 'w') as _out:
    _out.write(str(accuracy))

project = Project(
    name="Demo Project",
    description="Demo Project"
)
project = sw.project.create(project)

model = Model(
    name="Demo Model",
    description="Iris Model",
    project_id=project.id
)
model = sw.model.create(model)

df["prediction"] = clf.predict(df[['feature1', 'feature2', 'feature3', 'feature4']])
df.to_csv("Iris Data.csv", index=False)

## Create a dataset
dataset = Dataset(name="Demo Dataset", files="Iris Data.csv", project_id=project.id)
dataset = sw.dataset.create(dataset)

## create and activate superwise version
version = Version(model_id=model.id, name="V1", dataset_id=dataset.id)
active_version = sw.version.create(version)
sw.version.activate(active_version.id)
File size limitation
Dataset file should be up to 30K rows. if your file is bigger, make sure you split it
And, at the top of the file, add the following:
import uuid

import joblib
import os

import pandas as pd
from sklearn.metrics import accuracy_score
from sklearn.model_selection import train_test_split
from sklearn.svm import SVC
from superwise import Superwise
from superwise.models.project import Project
from superwise.models.model import Model
from superwise.models.version import Version
from superwise.models.dataset import Dataset

sw = Superwise(
    client_id="<my client_id>",
    secret="<my secret>",
)
Step 7: Implement the prediction logic
In the file src/sagify_base/prediction/prediction.py, replace the body of the predict(...) function with the following:
model_input = json_input['features']
prediction = ModelService.predict(model_input)
model = ModelService.get_superwise_model(MODEL_NAME)

for m in model_input:
    records = {
        "date_time" : str(datetime.utcnow()),
        "id" : str(uuid.uuid4()),
        "prediction": prediction,
        "feature1": m[0],
        "feature2": m[1],
        "feature3": m[2],
        "feature4": m[3]
    }
    transaction_id = sw.transaction.log_records(
        model_id=model[0].id,
        version_id=model[0].active_version_id,
        records=records
    )
    print(f"Created transaction:  {transaction_id}")
return {
    "prediction": prediction.item()
}
Within the ModelService class in the same file, replace the body of the get_model() function with the following:
if cls.model is None:
        cls.model = joblib.load(os.path.join(_MODEL_PATH, 'model.pkl'))
    return cls.model
Then, add a new function called get_superwise_model() to the ModelService class, using the following:
@classmethod
def get_superwise_model(cls,model_name):
    """ Get superwise model using superwise SDK """
    return sw.model.get_by_name(model_name)
Now, add the following text to the top of the file:
from superwise import Superwise
import joblib
import os
import pandas as pd
from datetime import datetime
import uuid

sw = Superwise(
    client_id="<my client_id>",
    secret="<my secret>",
)
MODEL_NAME = "Iris Model"
_MODEL_PATH = os.path.join('/opt/ml/', 'model')  # Path where all your model(s) live in
Step 8: Build and train the ML model
If you’re ready to build and train the ML model, run the command sagify build and then run sagify local train
Step 9: Call the inference REST API
To use the REST API, run the command sagify local deploy
Once that’s done, call the inference endpoint by running the following curl command:
curl -X POST \
http://localhost:8080/invocations \
-H 'Cache-Control: no-cache' \
-H 'Content-Type: application/json' \
-d '{
    "features":[[0.34, 0.45, 0.45, 0.3]]
}'
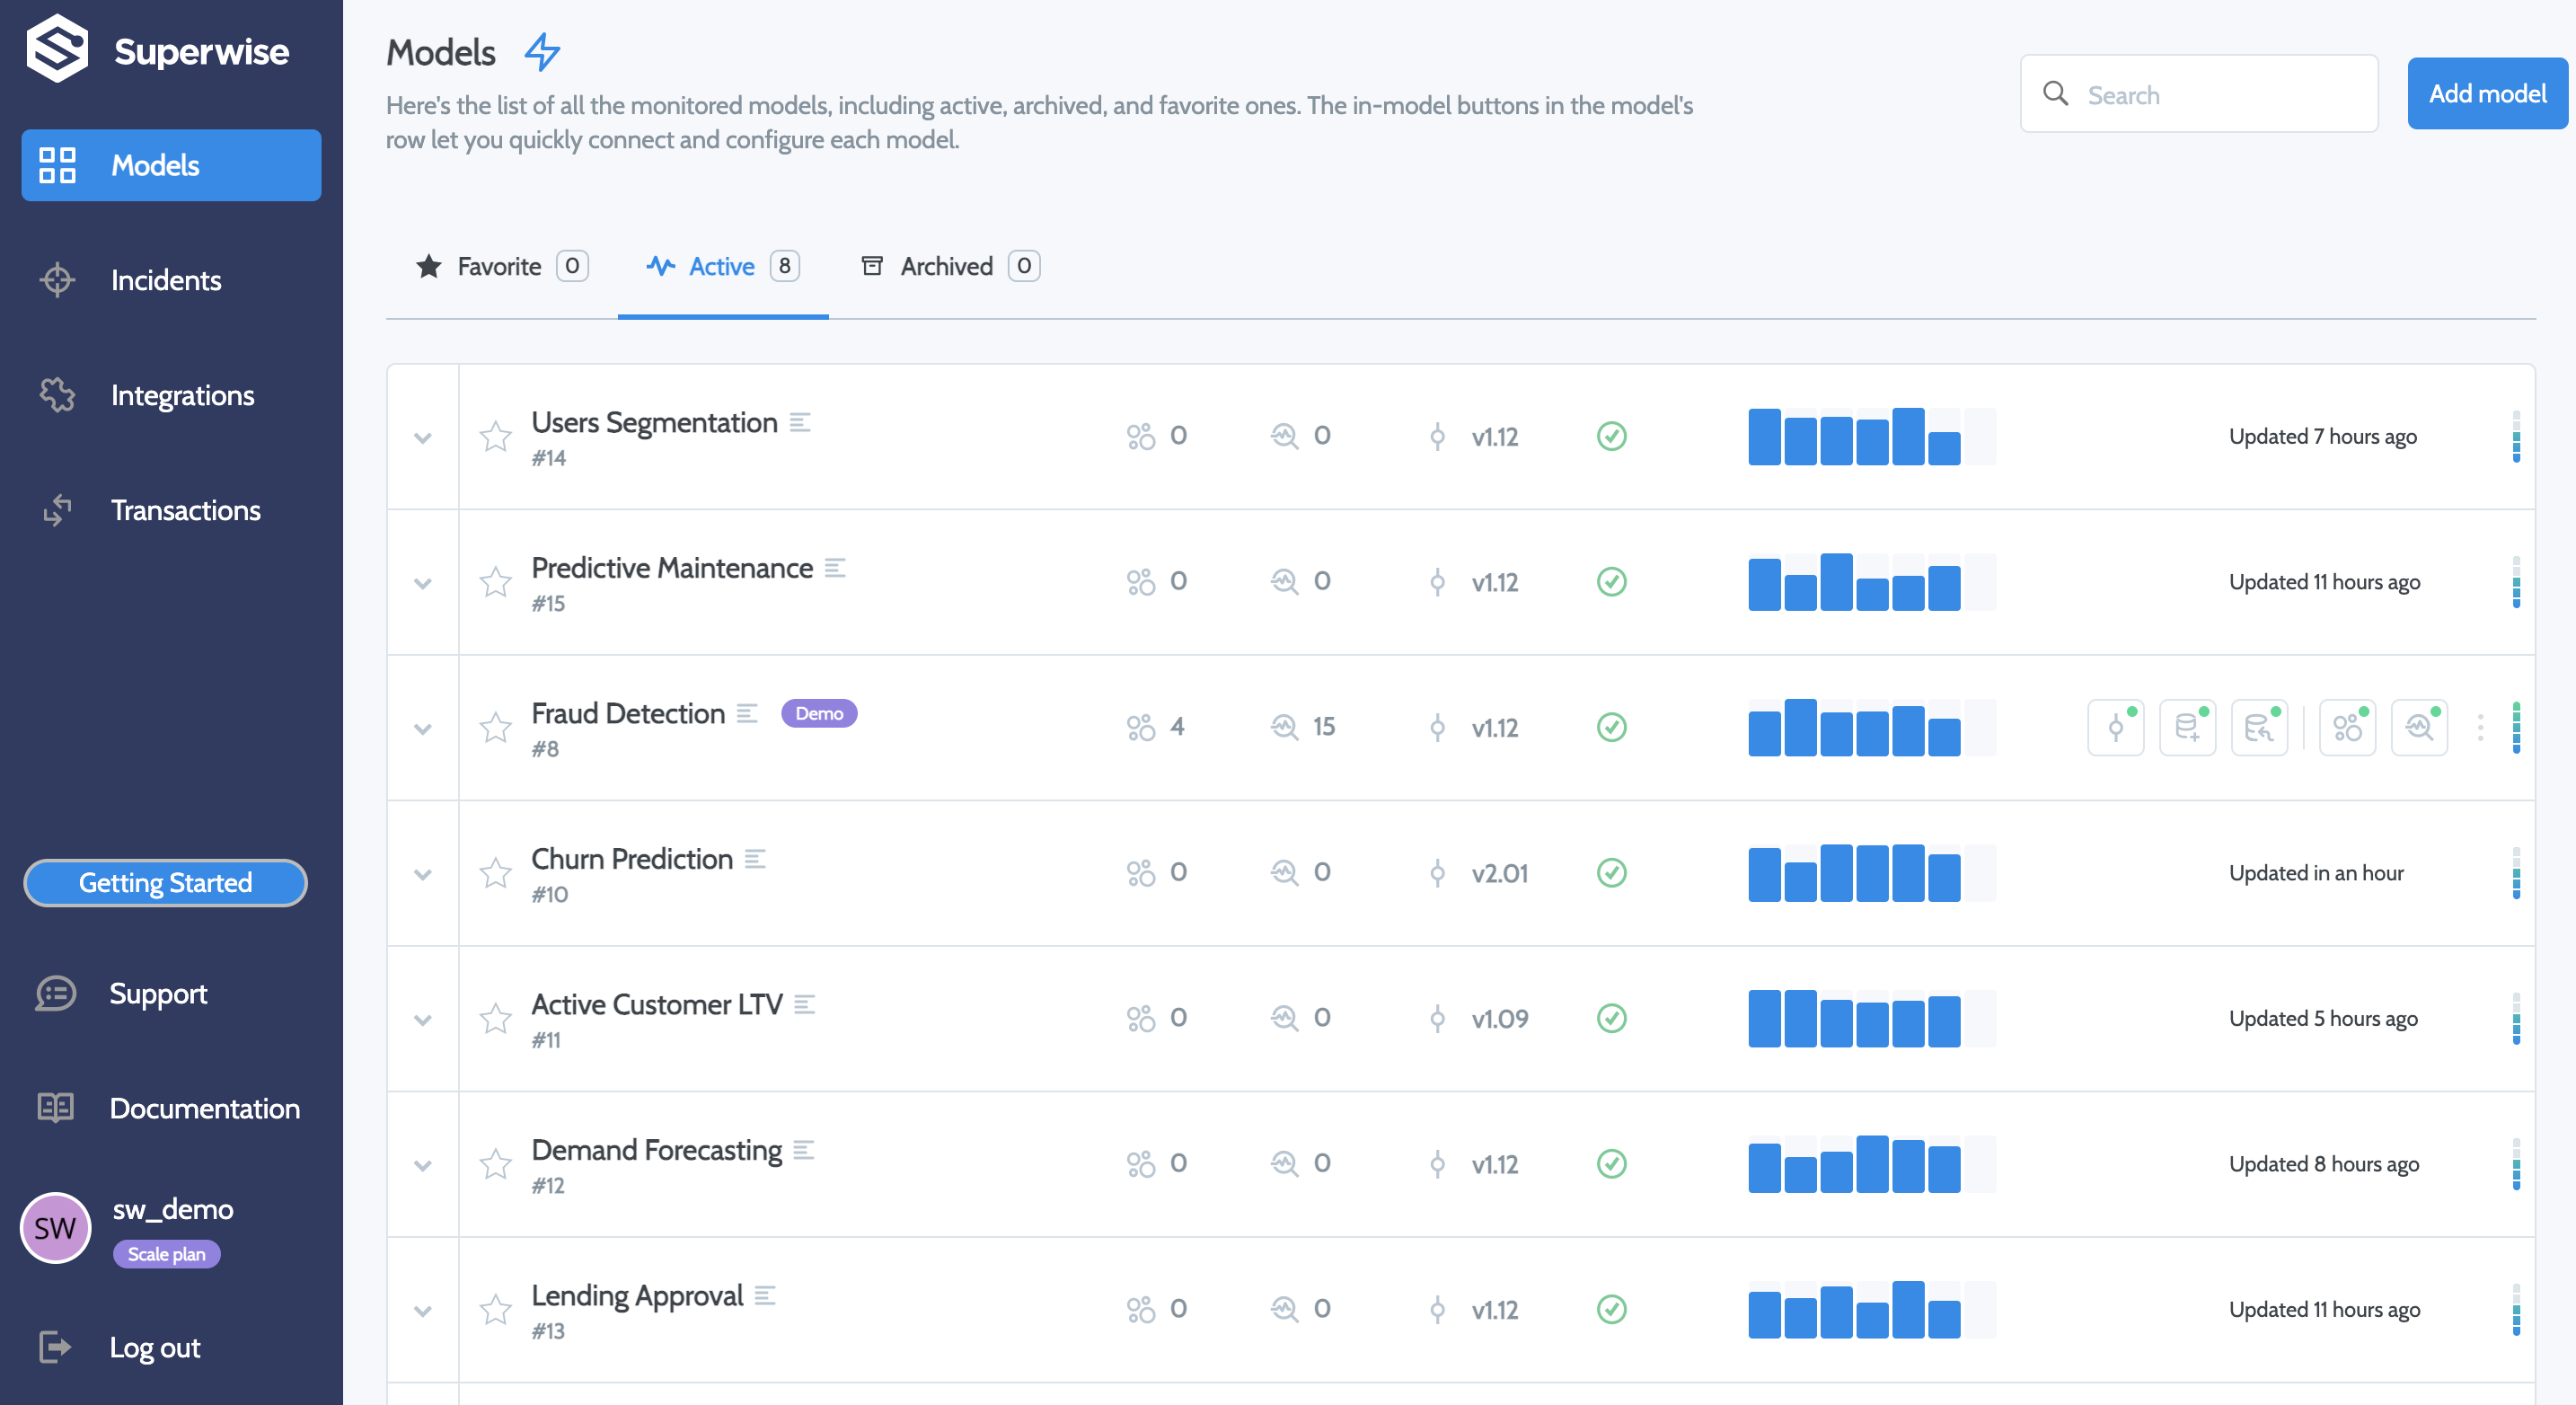
You should now be able to see data coming in on the Superwise dashboards.

Updated over 2 years ago
